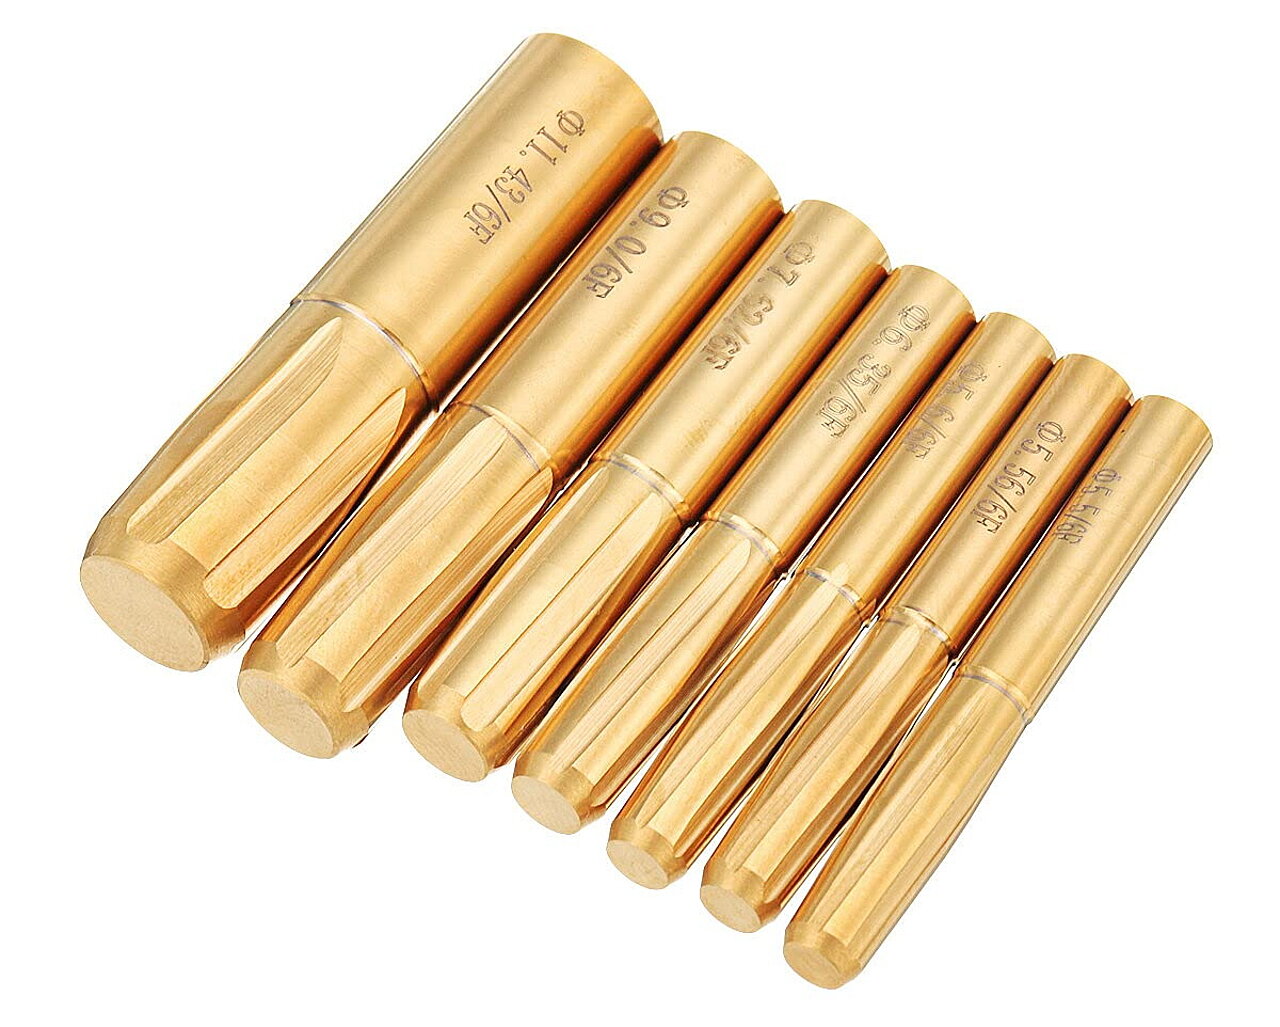
What is Button Rifling?
In button rifling, the “button” is actually a tool made of tungsten carbide. It is essentially a negative image of the barrel, i.e. the grooves to be cut are carved in relief on the button surface.
The carbide button tool is attached to a rod of high tensile steel, and the other end of the long rod is attached to a special adaptor. An AC Servomotor rotates the button very precisely to emulate the twist rate and a hydraulic cylinder or servo motor with ballscrew simultaneously pulls it. This forms the grooves on the inside of the barrel.
The bore of the barrel is lubricated first, before the button is pulled through it. As the hard button passes through the softer steel of the barrel, it engraves the rifling grooves on to the inside of the barrel. The whole process takes only a minute or less.
This is a cold-forming process, so there is a lot of pressure involved (65,000 psi or 425,000 kPa is not uncommon), which is why this process requires a strong hydraulic cylinder. As you can imagine, this involves putting quite a bit of stress on the barrel, hence the barrel must be stress relieved after the grooving operation is completed.
The simplest types of rifling buttons merely cut the grooves into the barrel. These leave some burrs in the barrel after the grooves have been cut, so the barrel needs to be finished separately if these cutters are used. Some other rifling buttons are combo buttons that have both a rifling button and a finishing button or sizing button following it. The rifling part cuts the grooves and the finishing part pushes the burrs back in and straightens out the edges caused by the rifling part of the button.
The button must be made slightly larger than the desired bore and groove diameter of the barrel because steel is an elastic material and tends to spring back when it is pushed or bent. Hence if a groove of say 5.69 mm diameter were sought, the grooves on the cutter would actually be slightly more than this (say 5.74 mm. groove diameter or so). Obviously, the properties of the steel used from batch to batch must be more or less uniform, otherwise the spring-back amount may be more or less and a new button will need to be made to compensate for this.
Another interesting thing about this process is that it must be done when the barrel is in a blank state: the barrel must be a uniform cylinder. This is so that the forces resisting the button’s movement are uniform throughout the barrel. Otherwise the rifling will be uneven inside the barrel.
Stress Relieving the Barrel
As mentioned earlier, after the grooves have been cut, the barrel must be stress relieved because the process puts a lot of stress on the steel. If this is not done, the barrel may split or deform later when the weapon is fired. Another reason to do this is because after the grooves are cut, if the barrel is further machined on one side (e.g. the muzzle end is slightly thinned, and it is machined to fit the chamber), the barrel will deform on that side due to the stresses from the button rifling operation, if the stress isn’t relieved first.
Stress relieving is done by heating the barrel in a vacuum furnace with an inert atmosphere to about 525-550 degrees Celsius, then slowly cooling it. The bore may snap back slightly during the stress-relieving process, which is why the button is slightly larger than the desired size. Even though the barrels have been stress relieved, it is not possible to do it completely without compromising the hardness of the barrel’s steel. Hence, when the barrel is machined again, the bore may open up slightly on that side, even if the machining is done on the outside of a barrel. Barrel makers usually use a process called lapping to restore the barrel back to a uniform bore.
There are a lot of variables that affect the bore and groove dimensions with button rifling: the particular batch of steel involved, its hardness, size of the bore, size of the button, how fast the button is pulled through, how much the bore closes after stress relieving and how much it opens after final machining.
Rifle the barrel
Rifling consists of spiral grooves in the bore, which will impart a spin to the fired round as it travels down the barrel
This spin will gyro stabilize the flight of the fired round. Determine the number of rifling grooves to be placed in the bore and the amount of twist to be put on the rifling grooves. Consult with experts in the field of gun barrel making to determine this information. Find these experts at specialty gun barrel making shops.
- Make the first rifling groove. Insert a tube mounted with the rifling hook cutter box down the bore of the barrel. Draw the rifling hook cutter box through the bore while rotating the barrel at a rate recommended by the expert to give the desired rifling spin.
- Add more rifling grooves. Index the barrel to the starting position for the next groove. Draw the rifling hook cutter box through the bore while rotating the barrel at a rate recommended by the expert to give the desired rifling spin.
- Finish the rifling. Repeat passes through the bore with the rifling hook cutter box as needed.

